Guide for site administrators
Once the developer has installed the framework, site administrators are able to attach metadata to paths, views, model instances and model classes. Metadata can be added though the four options presented in the admin, under the “Seo” app.
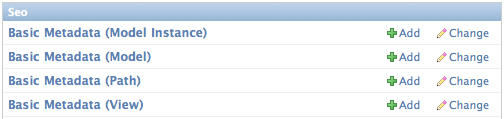
Sample SEO section from the Django admin index page
Associating Metadata with Paths
The simplest and most flexible way to add metadata is by associating it with a path. Here all you need to do is add the path you want and go for it.
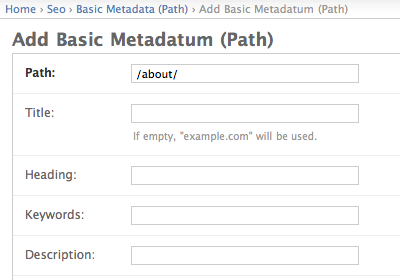
Sample SEO page to add a new set of path associated metadata
If your metadata is sensitive to sites and languages, you will see these options as well, allowing you to have specific metadata for a given language or site. Leave them blank and it will be the fallback for any language or site.

Sample SEO page with language and site options
Of course, this isn’t the most convenient way to add metadata. You need to know the path in advance, and if it changes, your metadata won’t be used anymore. If your site has thousands of paths, this approach will also consume a healthy amount of your time.
Associating Metadata with Views
Metadata can be assciated with a “view”, even if that view is found on a number of paths. The site developer will choose a number of suitable views, which can be easily selected from a drop down list. Simply choose the appropriate view and the metadata will appear on every relevant path.
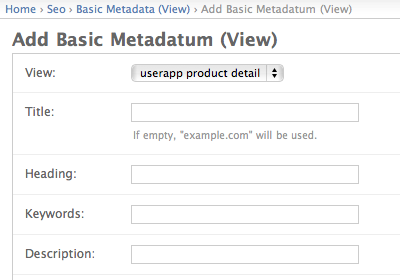
Sample SEO page to add a new set of view associated metadata
Associating Metadata with Model instances
To help make things simpler, metadata can be attached to model instances, for example a particular product. Any time you add a new product, a matching “model instance” metadata will be created automatically. [1] You are then free to add metadata as you please, and any time the path changes, the metadata will follow. The metadata will then appear on the relevant “detail” page for the given instance.
If the site developer has enabled it, metadata can also be directly editable alongside the instance itself. This is convenient when content authors are also responsible for metadata.

Sample model instance page with inline metadata
Footnotes
| [1] | Note that the model needs to be listed in seo_models for this to happen. The site developer will use this to choose which models will automatically create metadata. |
Associating Metadata with Models
But of course this won’t help if you have a large number of instances. It is possible to define fallback data for when a field is missing. This means you can define standard metadata and override a particular field or two for a particular model instance.

Sample SEO page to add a new set of model associated metadata
Integrating Existing Data
Quite often metadata will simply comprise of existing information, such as a product title. It would be mildly inefficient to have to maintain the same information in two separate places, so it is possible to reuse existing information. This can be done in the “Model”, “Model instance” and “View” metadata areas.
If you would like to reference the relevant model instance, you type the name of the model surrounded by two braces. For example Buy {{ product }} today!.
You can go further and reference different fields from the relevant instance, for example By {{ product.name }} today!.
The syntax is that of the Django template language.
This is particularly useful for the “model” metadata, where fallback values can be customised for all relevant instances.
For “view” metadata, a different set of information is available, depending on the particular view. The site developer will need to let site administrators know which information is available for each view.